Saturday, February 21, 2015

Italian Stuffed Chicken Breasts with Marsala Mushroom Gravy - East to make - Low Carb

Italian Stuffed Chicken Breasts with Marsala Mushroom Gravy

 Spice up those Chicken Breasts and Impress your friends and family!

Italian Stuffed Chicken Breast
To be quite honest, my family prefers the dark meat. I'll cook a whole chicken and the breast meat is the last to be eaten. So the last time I had a whole chicken I got some inspiration and came up with this recipe and I impressed myself and my wife. I filleted the breasts, set them aside and cooked the dark meat for another dish.

4 Chicken Breasts boneless and skinless
Cream Cheese
Italian Salami and/or Pepperoni
Italian spice mix
1 Cup sliced mushrooms
Italian Stuffed Chicken Breast - seasoned and ready to roll!
1 cup roughly minced onions
1/2 Cup Marsala Wine
1/2 Cup heavy cream
Bamboo skewers
Olive Oil

Start by flattening and tenderizing the Chicken Breasts. Placing the breast between 2 sheets of plastic wrap will keep the  meat juices from spattering. If you fold the plastic wrap over, be sure to leave enough space on all sides of the chicken breast to allow for the flattening and expansion. A smooth surfaced meat tenderizer
Italian Stuffed Chicken Breast - cut the skewers
works best. If you have one of those little hammers that's rough surfaced on both sides, you can turn it sideways to a smooth surface. You can separate the chicken tender from the breast and place it beside the thinnest part of the breast. Pound the chicken breast out to roughly twice the size, roughly 1/4" thick. Remove the plastic wrap and season the top of the pounded chicken breast well with the Italian spice mix. Examine the breast and determine the best way it should be rolled. Place slices of salami and/or pepperoni on the edge of the breast where you're going to start rolling from. If you placed the chicken
Italian Stuffed Chicken Breast - browned in the skillet
tender beside the breast when you were pounding it out - start from that end. Cut the cream cheese into strips about 1/4 wide and lay one layer of strips at the base of the row of salami. Now roll the chicken breast from where you placed the sliced salami, toward the opposite end. It can be a little tricky to start, especially with the chicken tender. You'll get the hang of it. Now that you have it rolled. Take your bamboo skewer and place it at the end of the roll and skewer from that end almost all the way through, leaving about 1" of skewer end poking through. Use kitchen sheers or you can simply break the
Italian Stuffed Chicken Breast -Marsala, Mushroom, Cream and Onion
skewer off on the long end leaving approximately 1" sticking out of the other side. Use the remainder of the sharpened skewer to do the same thing to the breast about 1" to 2" from the original. Keep the skewers horizontal instead of random.  You should be able to get 2 to 3 good skews per skewer. Do this for all 4 breasts.

Place some olive oil in a large skillet, over medium heat, once the oil is hot, place the stuffed chicken breasts in the skillet, and brown them, 4 to 6 minutes on each side. When the breasts are cooked all the way through, place them aside on a serving platter. Remove the skewer pieces, by gently spinning the skewer first to break it loose then pull them out.

Add olive oil to the skillet if it needs it, turn the heat up to a medium high, let the oil get good and hot and add the mushrooms and onions, stirring occasionally. When the mushrooms and onions start to brown and become translucent add the Marsala wine and cook until the wine reduces by half. Once the wine has reduced, add the heavy cream and heat through. When done pour over the top of the stuffed chicken breasts. If the breasts have cooled too much, you could pop them in the microwave for a minute before topping with the Marsala mushroom mixture.
Enjoy!


Sunday, January 11, 2015

Teriyaki and Garlic Glazed Edamame

Teriyaki and Garlic Glazed Edamame!

Teriyaki and Garlic Glazed Edamame makes a great appetizer or finger food side dish.

This quick and easy recipe will have you and your guests licking their fingers, wanting more. 

Edamame are immature soybeans in the pod. Commonly found in Asian dishes. I've been in several
Teriyaki garlic glazed Edamame
Japanese Restaurants that serve a bowl of steamed edamame to munch on when you are seated. They're a healthy snack, and I commonly turn to them when I'm making finger food for dinner. It's much easier to put down your chicken leg and pick up an edamame pod, extract the beans, and go back to your chicken leg. My favorite recipe for them is with a Teriyaki and Garlic glaze. Edamame in the shell are often found in the frozen vegetable section of grocery stores. One pound should serve four people as a side dish or more people as an appetizer. The can be server warm or cold.

1 Pound Edamame in the shell
1/4 to 1/2 cup of  broth (Vegetable, Chicken, or Beef) or water
2-3 cloves of garlic minced
1/4 to 1/2 cup Teriyaki Sauce

In a large sauce pan over medium heat, put the edamame in the pan with the broth or water - this
Teriyaki garlic glazed Edamame in the pan
liquid is to simply help thaw the edamame, after a few minutes when it looks like the edamame is starting to thaw, add the Teriyaki sauce and garlic. Stir occasionally to cote the pods, when the broth or water has evaporated and the Teriyaki sauce starts to thicken and become sticky. They're done! Each Teriyaki sauce is different - besure you buy Teriyaki 'Sauce' and not marinade which is much thinner. As the liquid starts to evaporate, start turning down the heat so you can gauge the thickness of the sauce and prevent burning.
Serve hot or at room temperature. An Asian style bowl or small dish adds to the theme. They're eaten by grasping the pointy end of the pod, placing the entire pod in your mouth and pulling the pod back out of your mouth while gently clamping down on the pod enough to cause the pod to split and the beans to remain in your mouth.
Finger Food Dinner: Teriyaki garlic glazed Edamame, breaded pork medalions, grilled trout, crab quesadilla.
An empty bowl for discarding the pods is a handy addition.


Thursday, December 11, 2014

Potluck Crockpot BBQ Meatballs

Potluck Crockpot BBQ Meatballs

This isn't a recipe per se, it's a survival tip!

This is my go to dish for the potluck at work.

Tis the season! It's the season of shopping, family, parties and lots of extra activities. It's also the
season of potlucks! Now if you're running short on time, here's a slam dunk way to participate in a potluck without spending too much time preparing a dish.
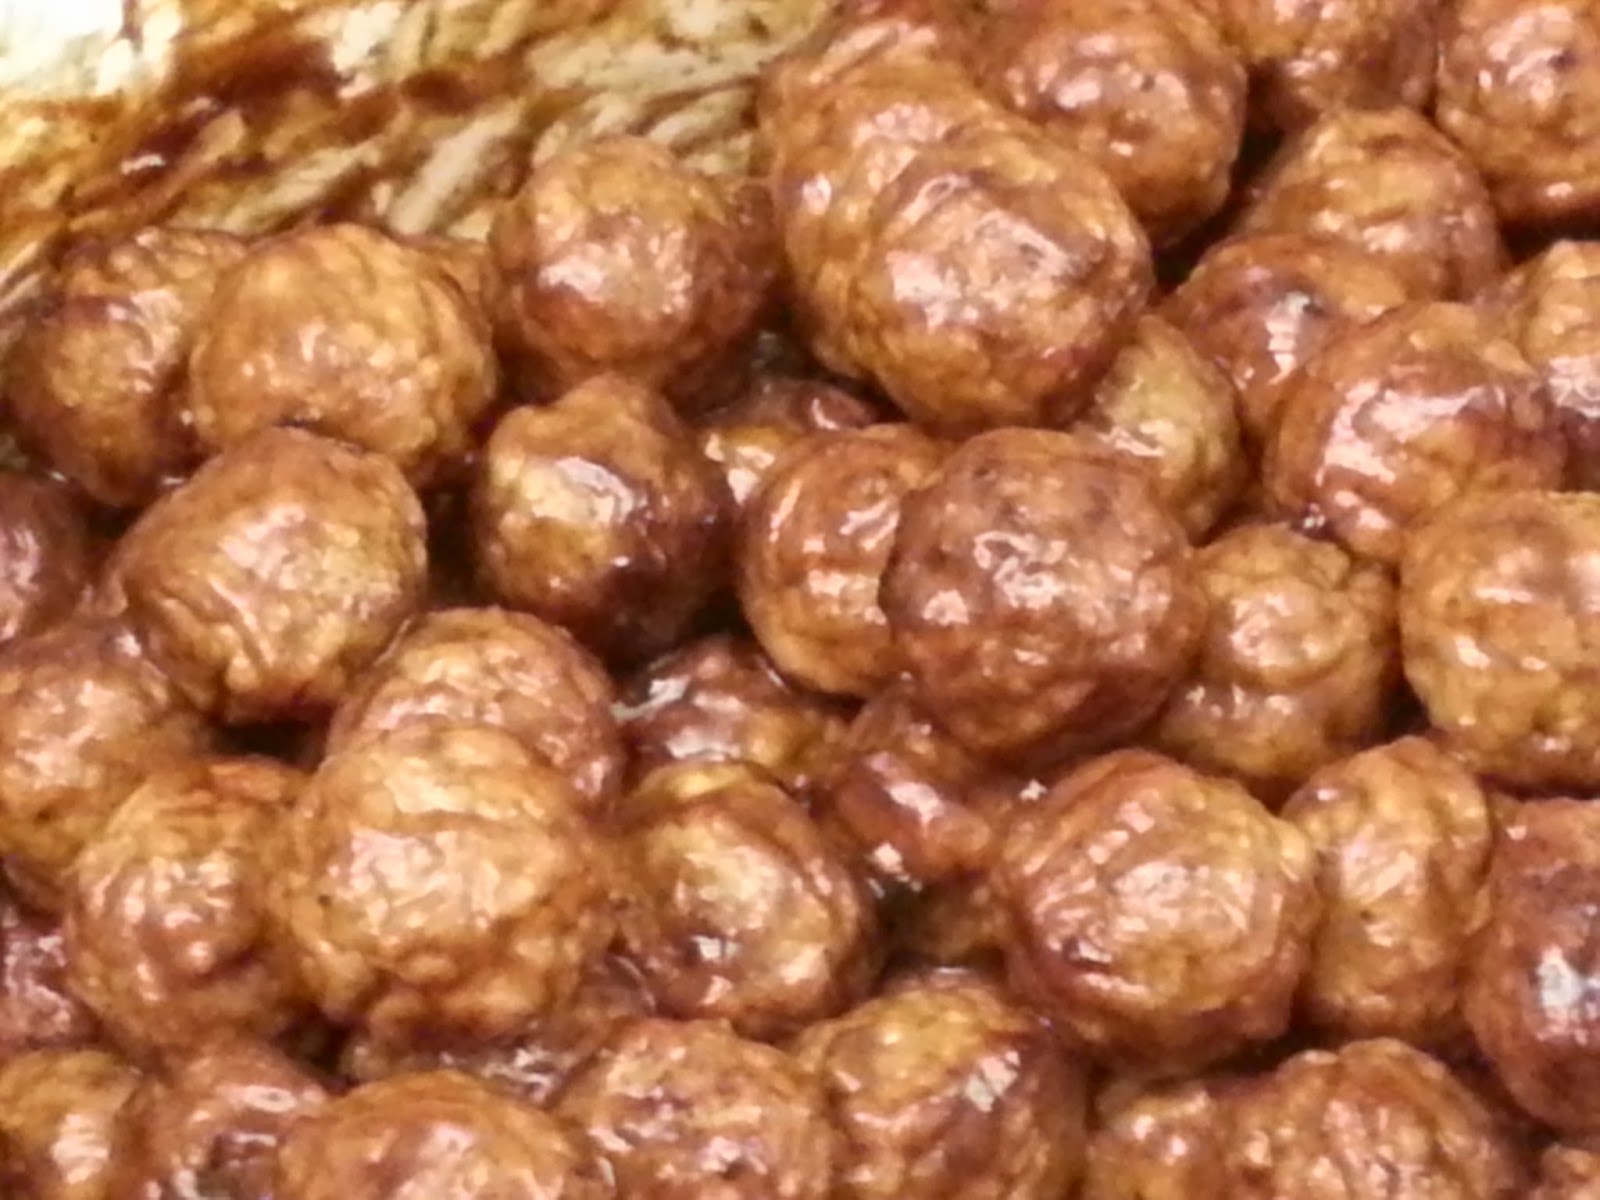
  I've got a 6qt oval crockpot, pretty much any one will do. Buy some pre-cooked frozen meatballs - for the latest one I grabbed two 2# bags of frozen meatballs. Each bag had approximately 64 1/2 oz bite size meatballs, flame broiled - I believe that adds some flavor and an 18 oz bottle of BBQ sauce. The beauty of this is that I can grab my crockpot, the bag(s) of frozen meatballs, and BBQ sauce all fit inside the crockpot along with a serving spoon. Don't forget the serving spoon!


 When I get to work, I layer the meatballs and BBQ sauce in the crockpot. I'll put an ounce or so of hot water in the BBQ sauce bottle and rinse it out into the crockpot, giving me some extra moisture for thawing and cooking. I turn the crockpot on low. I stir them every 45 to 60 min - when lunch time rolls around, the meatballs are heated through and are ready to go! And the nice part is that they usually get completely eaten and I don't have to deal with transporting leftovers! 


Thursday, August 14, 2014

Easy Thai Curry Brussels Sprouts

Easy Thai Curry Brussels Sprouts

Are you looking for a way to create Thai food at home? Impress your friends, family, and visiting dignitaries - not to mention your taste buds, by preparing this simple yet tasty dis at home.

Easy Thai Curry Brussels Sprouts is simple and quick to prepare and the results are very
Easy Thai Curry Brussels Sprouts
impressive. Those that are familiar with Thai food will be impressed with your cooking skills and those that are not familiar with Thai food will find themselves liking it!

1 Can Coconut Milk
1 pound Brussels Sprouts (stem cut, cut in half length-wise, loose and discolored leaves discarded)
8 or so Mushrooms quartered
1/2 medium Onion sliced
Thai Curry Paste (Green, Yellow, or Red)

Into a deep skillet or pot, empty the can of coconut milk. Heat the coconut milk over a medium high heat. Dissolve teaspoons of Thai Curry Paste into the coconut milk until the curry mixture tastes slightly stronger than you typically prefer. I typically start with 2 to 3 teaspoons of Thai Curry Paste. Add the Brussels Sprouts, onion slices and mushrooms to the curry mixture. Bring the mixture to a slow boil, stir until the Brussels Sprouts reach the tenderness you prefer. Serve in a bowl.

For taste Sake
Typically Green Thai Curry is on the sweeter and milder side, Yellow Thai Curry is medium spicy and Red Thai Curry can be spicy hot. BUT since you are preparing this dish, you are in control. Extra Green paste can make the dish spicy, and holding back on the Red Curry Paste can give you milder results.    


Monday, July 7, 2014

BBQ Grilled Sweet Potatoes

BBQ Grilled Sweet Potatoes

Imagine a warm slice of sweet potato with appealing grill marks, a slight crust,
BBQ Grilled Sweet Potatoes
giving way to moist fluffy potato. The sweet taste of sweet potato with a slight tang of mustard on your tongue.

Impress your friends and family with this simple recipe that makes an excellent addition to any BBQ.

Take one or more Sweet Potatoes or Yams, pealed and then sliced 1/4" to 3/8" thick. Place the potato slices in a microwavable bowl, cover them with water then microwave them on high for approximately 10 min. Drain the water off and lay the slices out on a cutting board or any flat surface. I prepare a mixture of 1 part mustard and 1 part Cooking oil. If you don't like mustard you can use straight cooking oil. The mustard does add a bit of tang to the potatoes. Remember that mustard typically has vinegar in it and vinegar and oil don't mix well so you do need to use a wisk or fork and give the mixture a good whippin'! Brush one side of the potato, place it oiled side down on a preheated grill over a medium heat. Then brush the other side of the potato with your oil mixture.

The goal of microwaving the potato slices are to partially cook the potato - not completely cook it through. A thoroughly cooked potato is going to need some extra care on the grill - you'll probably need a spatula to turn them. Partially cooked potatoes should be able to be handled with tongs. The oil mix will keep the potatoes from sticking to the grill. With some practice, you can achieve perfect grill marks. The combination of heat and oil coating will give the potato slices a slight crust and they'll be soft and moist inside.
My local Farmer's Market carries Japanese Sweet Potatoes which can grow relatively large when
Japanese Sweet Potato
compared to most sweet potatoes and yams. Cutting a smaller sweet potato diagonally or length-wise will give you larger slices which are easier to handle. You can also use regular potatoes in this recipe, the waxier type (red, yellow Yukon etc.) work best.


Thursday, January 30, 2014

Emulsified Green Chili Salsa


Green Chili Salsa
Salsa Verde - An Emulsified Green Chili Salsa
This recipe came from my attempts to make a Salsa Verde that I found at Dos Coyotes Border Cafe their Green Chili Salsa is one of my favorites. While I still don't think I 'Nailed it' I do believe I've made some batches that were better! This recipe will give you a fresh, light, exotic green salsa with a hint of heat.  As with most of my recipes, I strive to give you the basic building blocks of the recipe, so that you can make it your own my changing it. This recipe will give you a fresh tasting, rather exotic salsa with just a hint of heat.

Green Chili Salsa

Salsa Verde Ingredients:

2 Poblano or Pasilla Peppers - these are large fat mild Chili Peppers
2 Jalapeno Peppers - these are  small smooth skinned hotter Chili Peppers
1/2 Large onion
1/2 cup Canola or other vegetable Oil
1 Bunch Cilantro leaves stripped from the stems

A Chili by any other name? There's lots of confusion concerning the names of Chilis: Poblano, Ancho, Pasilla. Here's a picture of the ones I use http://www.worldcrops.org/images/content/Poblano_peppers_in_S._Deerfield_-_550.JPG

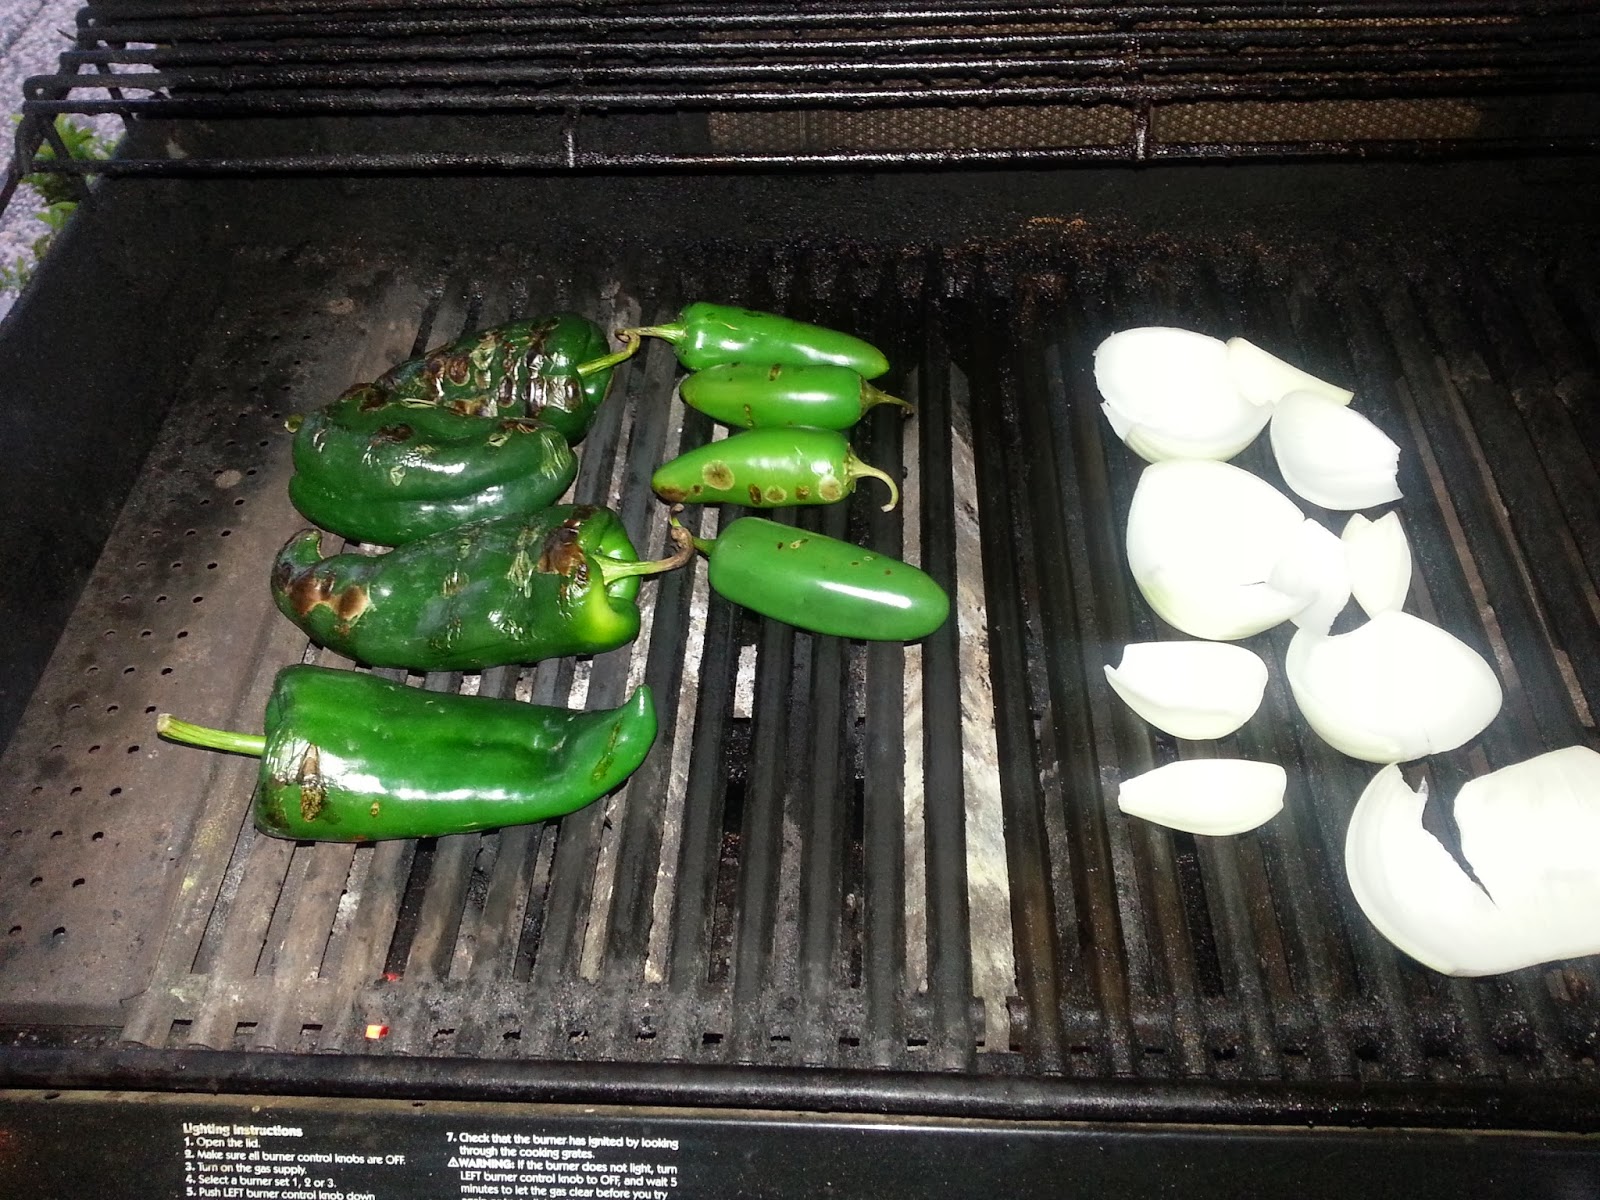
Roast the Peppers and onion, I like to separate the layers of the onion
Green Chili Salsa
Once the pepper's skins have been scorched - place them in a closed plastic container to steam and cool down. Once the peppers are cool enough to handle, remove the tops, skin and seeds.

Place the oil in the blender and either add each ingredient separately between bursts of blending, or turn on the blender and add the Onion, Peppers (I cut them into strips), and cilantro.

Serve it with traditional Tortilla Chips, Crackers, as a vegetable dip, and as a topping for your favorite Mexican dish.

For Taste Sake

Green Chili Salsa
It's the emulsification of the oil and the moisture in the peppers and onions that gives the salsa it's unique color

The oil does add to the flavor, so experiment with different oils.

Add Salt and pepper to taste

When adding salt to this recipe, remember to take into account the amount of salt that may already be present on the chips that you're serving it with - be sure to taste it with a chip and not just with your finger

Roasting the onion releases the gas that gives onions their 'bite', so if you like the bite of raw onion, don't roast the onion.

Roasted tomatillos add great flavor - cut them in half or quarters and roast them with the Chili Peppers and onion - you'll have to add extra jalapenos to keep the tomatillos from diluting the heat.

You can also throw a raw garlic clove or two in the blender with the other ingredients to step up the flavor.

Serve it with traditional Tortilla Chips, Crackers, as a vegetable dip, and as a topping for your favorite Mexican dish.

If you have a really good blender, you don't have to strip the cilantro leaves from the stems - the blender will pulverize the stems.

The Chili Peppers can be roasted on a BBQ grill, on a gas stove burner, gas or electric oven broiler, turn them often until the skin has been scorched and blistered


Thursday, November 21, 2013

How to Make Kiwi Jam

Kiwi Jam
Kiwi Jam

Kiwi Jam is one of my favorite jams. This sweet chunky spread is wonderful on toast, waffles, and pancakes. I've had people make thumb print cookies with it, pour it over ice cream (hot or cold) and even top a pork roast with it.

 Kiwis typically ripen in the fall. I'm fortunate to live in an area where Kiwis are grown so I can buy 'seconds' at a Farmer's market to make my Jam. 'Seconds' are the imperfect ones that don't make it to the store - typically they're doubles or triples - the ugly ones - looks don't matter, because we're going to make Kiwi Jam.

I also make Pomegranate Jelly. Both Pomegranates and Kiwi ripen in the Fall, the Green Kiwi Jam and Red Pomegranate Jelly make a wonderful Christmas pair to give as gifts.

Ingredients:

3 Cups peeled & cut up Kiwi
5 cups sugar
3 drops green food coloring
1 pat of butter (eyeball it)
1 pkg dry pectin

Makes a little over 5 - 8oz Jars

Directions;

Add Kiwi, Pectin & butter to pan on med/high heat - stir often and bring to a good boil,
add 3 drops food coloring to sugar - add sugar, stirring into boiling kiwi mixture - stir & bring to boil for 2 minutes. Once it's brought to a boil take pan off heat and let cool for 3-5 minutes. Allowing the jam to cool will thicken the jam, which keeps the chunks of fruit from floating to the top of the jar. Ladle the hot jam into the jars to within 1/4" of the lip - this is known as head space.

Canning Instructions:

There are a few tools you may want to buy, some places sell them as a kit
Wide mouth funnel
Lid lifter (stick with magnet on end) lift hot lids out of water
Jar lifter (lower & lift jars in & out of hot water) the straight plastic parts are the handles - the curved pieces fit around the jar
there's a clear stick that may come in the kit for knocking bubbles out of pickle jars - you don't need it for Jelly/Jam)
Timer - or a watch

I start with 3 pans:
1 REALLY big deep one with enough water to cover the jars with at least 1" of water (be mindful not to put so much water that it would overflow if you add 6 full jars to it, bring to a boil then turn the heat down to just under a boil.
1 large shallow frying pan with about 1" of water - put 6 empty jars and the flat lids in it and put on med/low heat don't boil - the sealing compound on the lid could get damaged if you boil it.
1 3 or 4 quat or so pot for making the jelly.

Follow the directions above to make the Kiwi Jam.Once you've allowed the completed Jam to cool for 5 minutes and thicken, ladle the hot jam into the jars within 1/4" of the lip try to ladle an even amount of juice and fruit into each jar. Use a napkin with the corner wet from your boiling water to wipe the mouth rim of the jar (to remove any jelly that might keep it from sealing properly). Using your lid lifter, retrieve a flat lid from the heated water and place the lid on the jar, then screw on the ring band - only lightly  finger tight. Set the jar aside and fill another until you've put all the Jam into your jars. Any leftover jam can be put in the refrigerator and eaten soon, or if you're going to make another batch of Kiwi Jam immediately, put the jam in a clean canning jar and place that jar in your warming pan, ready to be filled with the hot jam from your next batch.

Place all jars in the big pot of water, it's best if you have some sort of rack for the jars to sit on, I've heard that some folks place a towel in the bottom, the jars are tempered which makes them strong but brittle, so there is the posability that they could crack if they bounce on the bottom of the pot - you could risk it if you cn't find a suitable rack - I use a round cookie cooling rack. Jars stay in the water bath for 10 minutes. With Lids on finger tight the hot water forces air out and creates a vacuum when it cools.

Place hot jars on a towel, or a wooden or plastic cutting board - NOT cold Tile, Granite or Marble counters! (again to prevent risk of jars cracking when hot meets cold). As they cool - you may hear 'pop' - that's the jars sealing. The next day check to see that jars sealed properly -the flat lid should be concave (sucked down). Pushing on the lid should make no movement - if lid pops up & down with finger pushing - you can just refrigerate and eat soon or remove lid, clean lid and jar rim, replace lid & band ring and try putting in waterbath for 10 minutes.

Store the filled jars in a cool dark place. They will typically keep for up to two years.